For anyone passionate about cooking and baking, precision is not just a preference—it’s the secret ingredient to consistent success. Among the many measurements in a recipe, understanding how to accurately measure 1/3 cup can often be a surprising challenge. Whether you’re a seasoned chef or just starting your culinary journey, getting that seemingly small fraction right is crucial for perfect results, from fluffy cakes to perfectly balanced sauces. This comprehensive guide will demystify the 1/3 cup measurement, offering expert tips, conversion charts, and advice on choosing the best tools to ensure every dish you create is a masterpiece.
Understanding the Elusive 1/3 Mark on Your Measuring Cup
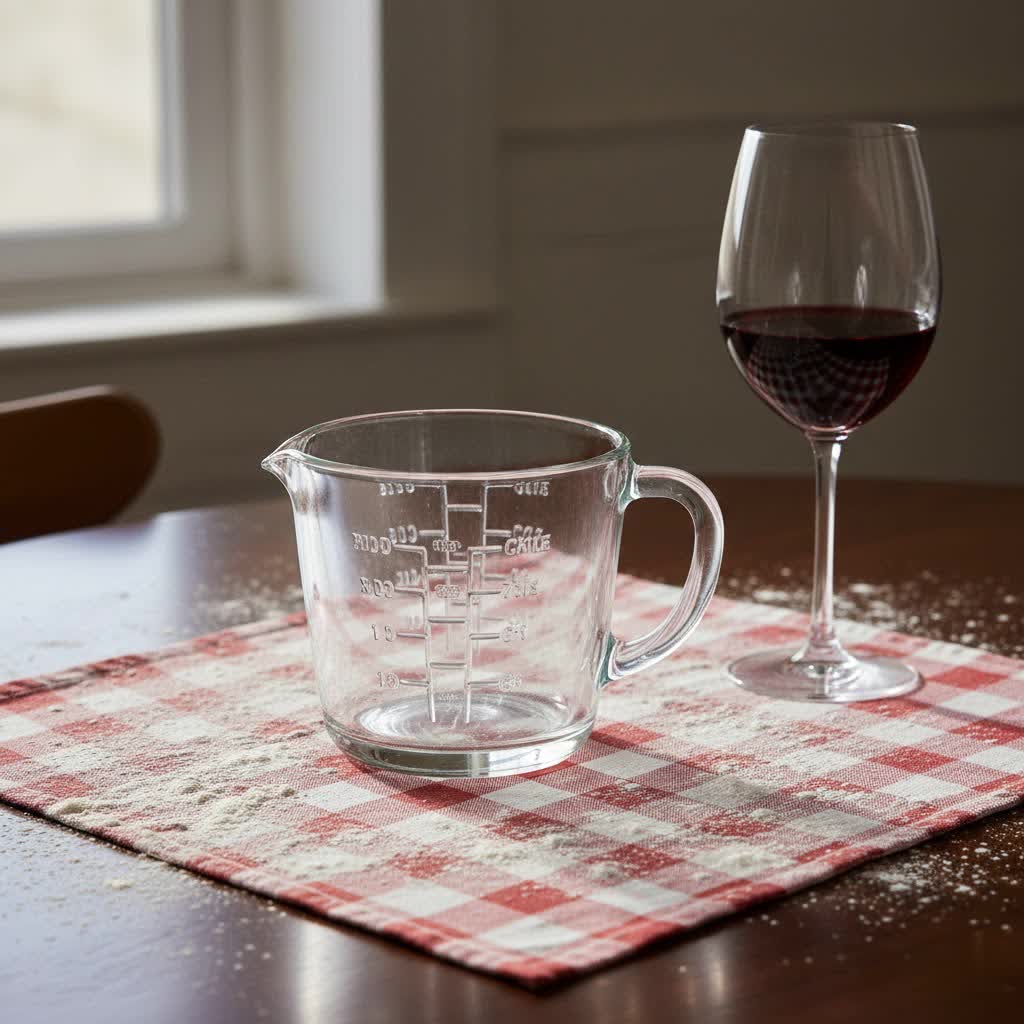
The 1/3 cup measurement is a common fraction in countless recipes, and knowing where to find and how to interpret it on your measuring cups is the first step towards accuracy. On most dry measuring cup sets, you’ll find a dedicated 1/3 cup. This is a standalone cup designed to hold precisely one-third of a standard cup’s volume. For liquid measuring cups, the 1/3 mark is typically a clearly labeled line among other increments like 1/4 and 1/2, often found between these two marks. Recognizing these specific indicators is vital for achieving culinary precision.
The Science of Precision: Why 1/3 Cup Matters
In the culinary world, baking is often likened to chemistry, where exact ratios of ingredients determine the final texture, flavor, and appearance of your creation. A slight deviation in a 1/3 cup measurement can have significant consequences. For instance, too much flour can lead to dry, dense muffins, while insufficient sugar might result in flat, unappealing cookies. Accurate measuring ensures consistency, allowing you to replicate beloved recipes perfectly every time and confidently experiment with new ones. As culinary experts often emphasize, “Consistency starts with the right tool.”
Mastering the Art of Measuring 1/3 Cup Accurately
Achieving precise 1/3 cup measurements requires different techniques depending on the ingredient type.
For Dry Ingredients
|
Our Picks for the Best Measuring Cup in 2026
As an Amazon Associate I earn from qualifying purchases.
|
||
| Num | Product | Action |
|---|---|---|
| 1 | 1/3 Cup Measuring Cup, 80ml Stainless Steel Measuring Scoop Gold Coffee Scoop 1/3 Teaspoon with Wooden Handle for Baking Cooking Wet and Dry Ingredients |

|
| 2 | OXO Good Grips 2-Cup Angled Measuring Cup |
|
| 3 | OXO Good Grips 3-Piece Angled Measuring Cup Set |
|
| 4 | FARBERWARE 5-Piece Measuring Cup Set with Coffee Scoop, Durable Plastic Nesting Measuring Cups with Easy-Read Markings, BPA-Free, Dishwasher Safe |
|
| 5 | Amazon Basics Glass Measuring Cup, Precise 8 Cup Capacity, Clear Kitchen Measuring Tool, 2 L |
|
| 6 | Pyrex Essentials (3-Pack) Glass Measuring Cups Set, (1, 2 & 4 Cup) Measuring Cups For Prepping, Baking and Cooking, Preheated Oven, Dishwasher, Freezer, and Microwave Safe |
|
| 7 | Pyrex 4-Cup Glass Measuring Cup For Baking and Cooking, Dishwasher, Freezer, Microwave, and Preheated Oven Safe, Essential Kitchen Tools |
|
| 8 | Measuring Cups Set, Liquid Measuring Cups For 3 For Kitchen - BPA Free Plastic Set with Spout Multiple Measurement Scales (Clear) |
|
| 9 | 2 Pack Measuring Cup Set, Includes 250Ml (1-Cup), and 500Ml (2-Cup) Plastic Liquid Measuring Cups- Baking, Cooking, Mixing & Measuring Cups, Essential Kitchen Tools |
|
| 10 | Hudson Essentials Stainless Steel Measuring Cups Set (6 Piece Set) |
|
When measuring dry ingredients like flour, sugar, cocoa powder, or grains, the “spoon and level” method is paramount.
- Fluff: For ingredients like flour, lightly fluff them with a spoon before measuring to aerate them.
- Spoon into Cup: Gently spoon the ingredient into the 1/3 cup dry measuring cup until it’s slightly overflowing. Avoid packing it down or tapping the cup, as this can compact the ingredient and lead to over-measurement.
- Level Off: Use the back of a straight edge, such as a knife or a bench scraper, to level off the excess ingredient across the top of the cup, ensuring a flat, precise measure.
The only exception to this is brown sugar, which should be firmly packed into the measuring cup.
For Liquid Ingredients
For liquids like water, milk, oil, or extracts, use a liquid measuring cup, typically made of clear glass or plastic with a pour spout.
- Flat Surface: Place the liquid measuring cup on a flat, level surface.
- Pour and Read at Eye Level: Pour the liquid slowly into the cup until it reaches the 1/3 mark. Bend down so your eyes are level with the measurement line to accurately read the bottom of the meniscus (the curved surface of the liquid). This prevents over- or under-measuring.
For Sticky Ingredients
Ingredients like honey, syrup, or peanut butter can be challenging to measure.
- Lightly Grease: Lightly grease the 1/3 cup dry measuring cup with a neutral oil or cooking spray before adding the sticky ingredient. This helps the ingredient slide out easily.
- Spoon and Level: Spoon the sticky ingredient into the greased cup and level it off. Use a rubber spatula to scrape out the ingredient entirely.
When You Don’t Have a 1/3 Measuring Cup: Smart Conversions
It’s common to find yourself without a dedicated 1/3 cup measure. Fortunately, several simple conversions can help you achieve the correct amount with other standard kitchen tools.
Tablespoons and Teaspoons
The most precise conversion for 1/3 cup is:
- 5 tablespoons + 1 teaspoon
This conversion is highly accurate and can be achieved using a standard set of measuring spoons.
You can also think of 1/3 cup as approximately 5 1/3 tablespoons.
Metric Conversions
For those who prefer metric measurements or have a digital scale:
- 1/3 US cup is approximately 78.86 milliliters (ml) or 2.67 fluid ounces.
- When converting to weight for specific ingredients, 1/3 cup is roughly 75 grams for many dry ingredients.
Using a digital scale allows for exceptional precision, converting your 1/3 cup measurement into grams for superior accuracy, especially in baking.
Choosing the Right Measuring Cup for Flawless 1/3 Measurements
Investing in quality measuring tools is fundamental for consistent results. Different materials and designs cater to specific needs.
Glass Measuring Cups (for Liquids)
- Advantages: Glass is non-reactive, easy to clean, and durable, resisting stains and odors. Its transparency allows for clear viewing of the meniscus for accurate liquid measurements. They often feature multiple measurement units (cups, ounces, milliliters).
- Disadvantages: Can be heavier and prone to breaking if dropped.
- Ideal for: Any liquid ingredient, from water and oil to sauces and broths. Look for brands known for clear markings and sturdy glass.
Stainless Steel Measuring Cups (for Dry)
- Advantages: Extremely durable, resistant to rust and warping, and won’t retain odors or stains. The flat rim design is perfect for leveling dry ingredients accurately. Many come in nesting sets for easy storage.
- Disadvantages: Cannot see through them, making them unsuitable for liquid measurement.
- Ideal for: All dry ingredients like flour, sugar, spices, and grains. Opt for sets with engraved (not printed) measurements that won’t fade.
Digital Measuring Cups and Scales
- Advantages: Offer the highest level of precision, converting volume to weight (grams, ounces) or displaying exact liquid volume. Ideal for recipes that provide measurements by weight. Eliminates user error from leveling or meniscus reading.
- Disadvantages: Requires batteries, can be more expensive, and some models might have limited capacity.
- Ideal for: Professional bakers, complex recipes, or anyone seeking ultimate accuracy.
Common Pitfalls: Mistakes to Avoid When Measuring 1/3 Cup
Even experienced cooks can fall prey to common measuring errors that compromise recipe outcomes.
- Using the Wrong Type of Cup: Do not use a liquid measuring cup for dry ingredients or vice versa. Liquid cups have headspace and a spout, making it impossible to level dry ingredients accurately. Dry cups lack a spout and meniscus line, leading to spills and inaccurate liquid measurements.
- Packing Dry Ingredients Incorrectly: Unless a recipe specifies “packed” (like for brown sugar), avoid compacting dry ingredients. Scooping flour directly from the bag can compress it by up to 25%, leading to an excess of flour. Always spoon and level.
- Eyeballing Measurements: While tempting, especially for small amounts, eyeballing 1/3 cup introduces significant variability. Always use proper measuring tools for consistent results, particularly in baking.
- Fading Markings: Over time, printed measurements on plastic or glass cups can fade, making accurate reading difficult. If your markings are unclear, it’s time to replace your measuring cups to ensure continued precision.
Maintaining Your Measuring Cups for Lasting Accuracy
Proper care ensures your measuring cups remain accurate and serve you for years.
- Cleaning: Most measuring cups (glass, stainless steel, and many plastics) are dishwasher safe. For sticky residues, a good soak in warm, soapy water followed by scrubbing with a brush often does the trick.
- Storage: Store dry measuring cups nested to save space and protect them from damage. Keep liquid measuring cups in a stable position where they won’t easily tip or break.
- Inspection: Periodically check your measuring cups for any signs of damage, such as cracks in glass, bending in metal, or fading markings. Damaged tools can lead to inaccurate measurements.
Conclusion
Mastering the 1/3 cup measurement is a fundamental skill that elevates your cooking and baking from good to consistently great. By understanding how to properly read your measuring cups, employing correct techniques for different ingredient types, and knowing valuable conversions, you unlock a new level of precision in your kitchen. Choosing the right tools, whether it’s a dedicated 1/3 cup dry measure, a clear glass liquid cup, or a precise digital scale, empowers you to create culinary delights with confidence and consistency. Embrace the art of accurate measurement, and your dishes will always hit the mark.
What precise measurement has transformed your favorite recipe?
Frequently Asked Questions
How many tablespoons are in 1/3 cup?
There are precisely 5 tablespoons plus 1 teaspoon in 1/3 US cup. This conversion is ideal when you don’t have a dedicated 1/3 cup measure.
What is the difference between dry and liquid measuring cups for 1/3 cup?
Dry measuring cups for 1/3 cup are typically individual cups designed to be filled to the brim and leveled off. Liquid measuring cups for 1/3 cup are usually clear containers with a pour spout and a line marking the 1/3 volume, which should be read at eye level.
Can I eyeball 1/3 cup if I’m in a hurry?
While tempting, it is strongly advised not to eyeball 1/3 cup, especially in baking, where precision is critical. Even small discrepancies can significantly alter the outcome of a recipe, leading to inconsistent results.
How many milliliters is 1/3 cup?
One-third of a US cup is approximately 78.86 milliliters (ml). For general cooking purposes, this is often rounded to 80 ml.
Why is it so important to measure 1/3 cup accurately?
Accurate measurement, particularly for fractions like 1/3 cup, is crucial for recipe consistency. In baking, precise ratios of ingredients are essential for desired texture, flavor, and rise. In cooking, it ensures proper balance and prevents dishes from being too salty, sweet, thick, or thin.