Have you ever found yourself staring at a recipe, a little unsure how to tackle that elusive “2/3 cup” measurement? In the world of cooking and baking, precision is paramount, and understanding how to accurately measure fractions like 2/3 cup can make all the difference between a good dish and a great one. Whether you’re a seasoned chef or a home cook looking to hone your skills, mastering this common measurement is a fundamental step towards consistent and delicious results. This comprehensive guide will demystify the 2/3 cup, providing you with practical methods and expert insights to ensure flawless accuracy every time you step into the kitchen.
Understanding the 2/3 Cup Measurement
At its core, “2/3 cup” simply means two out of three equal parts that make up a full cup. Imagine dividing a standard 1-cup measure into three identical sections; you would then need to fill two of those sections to achieve a 2/3 cup measurement. This fractional quantity appears frequently in a wide array of recipes, from baking delicate pastries where exact ratios are critical to preparing savory dishes and beverages where balance of flavors is key.
Precision in measurement isn’t just about following instructions; it’s about the science of cooking. In baking, for instance, ingredients interact chemically, and even slight deviations in proportions can alter the texture, rise, and overall outcome of your creation. For liquids, too, achieving the correct volume ensures that flavors are not diluted or overpowering. Understanding what 2/3 cup truly represents is the first step toward culinary success and confidence in your kitchen.
Methods to Accurately Measure 2/3 Cup
While some measuring cup sets include a dedicated 2/3 cup, it’s not always present. Don’t worry if you don’t have one; there are several reliable ways to achieve this measurement with common kitchen tools.
Using a Dedicated 2/3 Measuring Cup
|
Our Picks for the Best Measuring Cup in 2026
As an Amazon Associate I earn from qualifying purchases.
|
||
| Num | Product | Action |
|---|---|---|
| 1 | Pyrex 4-Cup Glass Measuring Cup For Baking and Cooking, Dishwasher, Freezer, Microwave, and Preheated Oven Safe, Essential Kitchen Tools |

|
| 2 | Hudson Essentials Stainless Steel Measuring Cups Set (6 Piece Set) |
|
| 3 | 2 Pack Measuring Cup Set, Includes 250Ml (1-Cup), and 500Ml (2-Cup) Plastic Liquid Measuring Cups- Baking, Cooking, Mixing & Measuring Cups, Essential Kitchen Tools |
|
| 4 | OXO Good Grips 3-Piece Angled Measuring Cup Set |
|
| 5 | Amazon Basics Glass Measuring Cup, Precise 8 Cup Capacity, Clear Kitchen Measuring Tool, 2 L |
|
| 6 | Measuring Cups Set, Liquid Measuring Cups For 3 For Kitchen - BPA Free Plastic Set with Spout Multiple Measurement Scales (Clear) |
|
| 7 | Pyrex Essentials (3-Pack) Glass Measuring Cups Set, (1, 2 & 4 Cup) Measuring Cups For Prepping, Baking and Cooking, Preheated Oven, Dishwasher, Freezer, and Microwave Safe |
|
| 8 | 1/3 Cup Measuring Cup, 80ml Stainless Steel Measuring Scoop Gold Coffee Scoop 1/3 Teaspoon with Wooden Handle for Baking Cooking Wet and Dry Ingredients |
|
| 9 | OXO Good Grips 2-Cup Angled Measuring Cup |
|
| 10 | FARBERWARE 5-Piece Measuring Cup Set with Coffee Scoop, Durable Plastic Nesting Measuring Cups with Easy-Read Markings, BPA-Free, Dishwasher Safe |
|
The most straightforward method is to use a measuring cup explicitly marked “2/3 cup.” Simply fill the cup with your ingredient to the indicated line, and then level it off if it’s a dry ingredient, or read at eye-level for liquids. This eliminates any guesswork and ensures maximum accuracy.
Combining Smaller Measuring Cups
If a dedicated 2/3 cup is not available, you can easily combine smaller measures. The most common technique is to use a 1/3 cup measure twice. Fill your 1/3 cup with the ingredient, level it, and transfer it to your mixing bowl. Repeat this step once more, and you’ll have precisely 2/3 cup.
Alternatively, you can achieve 2/3 cup by using a 1/2 cup measure along with a few measuring spoons. A 2/3 cup is equivalent to a 1/2 cup plus 2 tablespoons and 2 teaspoons. This method is particularly useful when you have a 1/2 cup in your set but lack a 1/3 cup.
Utilizing Measuring Spoons for Smaller Increments
For recipes requiring precision or when you only have measuring spoons on hand, knowing the conversion to tablespoons and teaspoons can be a lifesaver. A 2/3 cup is exactly 10 tablespoons and 2 teaspoons. This method, while a bit more tedious, offers excellent accuracy, especially for smaller quantities of ingredients.
The Precision of a Digital Kitchen Scale
For unparalleled accuracy, especially with dry ingredients where volume can vary depending on how compactly an ingredient is packed, a digital kitchen scale is invaluable. While 1 cup of liquid typically weighs 8 fluid ounces (or about 236 grams/ml), the weight of dry ingredients per cup varies significantly. For example, 2/3 cup of all-purpose flour weighs approximately 3 ounces (85 grams), whereas 2/3 cup of granulated sugar is about 4.7 ounces (134 grams). To measure with a scale, simply place your mixing bowl on the scale, tare it to zero, and then add your ingredient until it reaches the desired weight.
Metric Conversions
For those accustomed to or preferring metric measurements, 2/3 cup converts to approximately 157-160 milliliters. Many liquid measuring jugs feature both imperial and metric markings, making this a convenient option for accurate pours.
Choosing the Right Measuring Cup for the Job
Not all measuring cups are created equal. Using the correct type for your ingredients is a fundamental principle for accurate cooking and baking.
Dry Measuring Cups
Dry measuring cups are typically individual cups in a set, designed to be filled to the brim and then leveled off with a flat edge, such as the back of a knife. These are ideal for ingredients like flour, sugar, oats, nuts, and chocolate chips. They usually come in standard sizes: 1/4 cup, 1/3 cup, 1/2 cup, and 1 cup. They are often made from metal (stainless steel) or plastic and are designed to hold the exact amount of the ingredient without spillage during leveling.
Liquid Measuring Cups
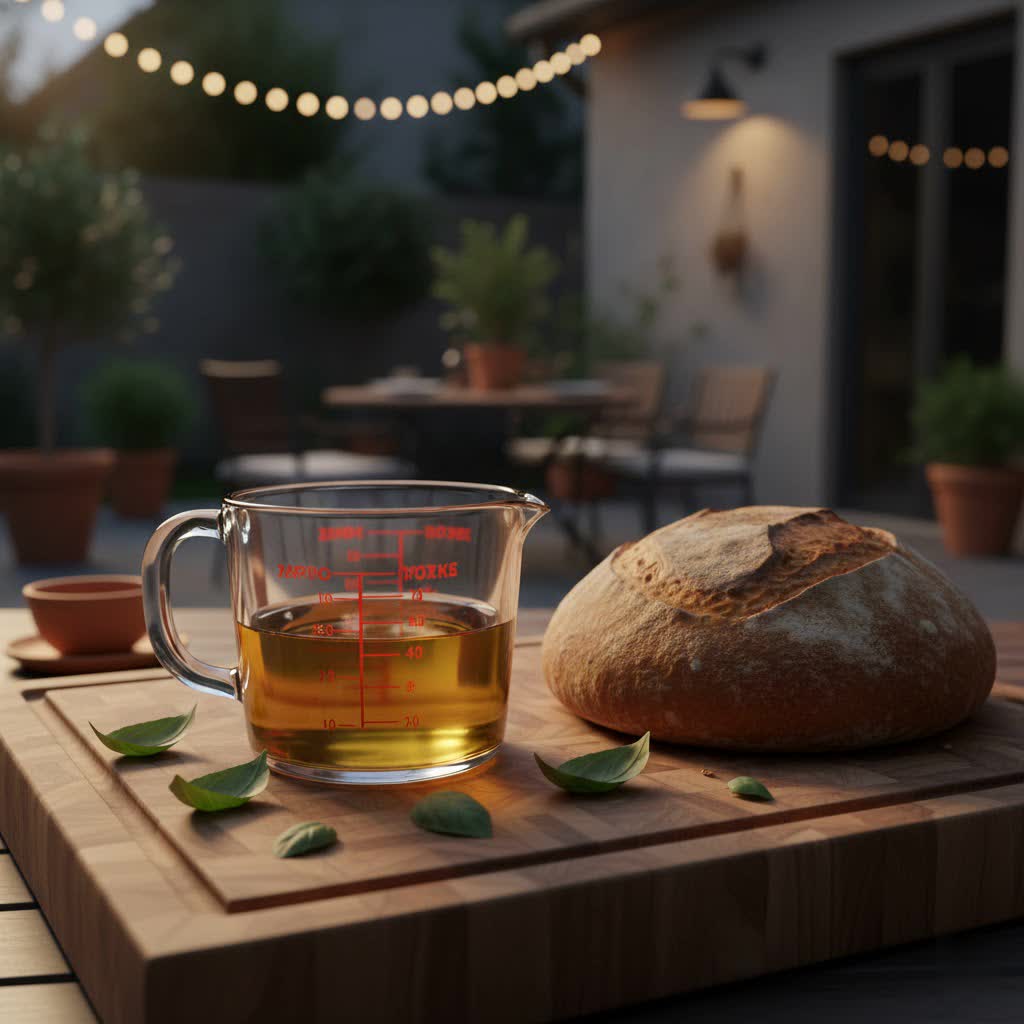
Liquid measuring cups are generally made of clear glass or plastic, featuring a spout for easy pouring and a handle. Their markings ascend the side of the cup, often including measurements for ounces and milliliters in addition to cups. When measuring liquids, it’s crucial to place the cup on a flat, level surface and read the measurement at eye level. This technique helps account for the meniscus—the slight curve of the liquid’s surface—ensuring you measure the volume accurately from the bottom of the curve.
Why does it matter which type you use? “Using a dry measuring cup for liquids often leads to spills and inaccurate readings, as you can’t properly level a liquid,” explains Chef Anya Sharma, a culinary instructor with over two decades of experience. “Conversely, trying to level dry ingredients in a liquid measuring cup can result in compacted ingredients, leading to an excess amount.”
Tips for Flawless Measuring Every Time
Even with the right tools, technique matters. Here are some expert tips for achieving perfect measurements:
- Leveling Dry Ingredients: Always spoon dry ingredients like flour into your dry measuring cup until it overflows, then use a straight edge (like a knife or a specific leveling tool) to scrape off the excess. Never pack flour into the cup unless the recipe specifies “packed” flour.
- Reading Liquids at Eye Level: As mentioned, for liquid measuring cups, ensure the cup is on a flat surface and you’re at eye level with the liquid to read the bottom of the meniscus accurately.
- Dealing with Sticky Ingredients: For sticky substances like honey, molasses, or peanut butter, lightly coat your measuring cup or spoon with cooking spray or oil before measuring. This allows the ingredient to slide out easily without leaving residue, ensuring you get the full amount.
- Measuring Loose Dry Ingredients: When measuring ingredients like chocolate chips, chopped nuts, or fresh herbs, give the measuring cup a gentle shake or tap to settle the ingredients without compressing them, aiming for an even fill.
- Consistency is Key: Whether you’re a beginner or an experienced cook, consistent measurement practices will elevate your culinary results. Stick to your chosen method, and your recipes will thank you.
Common Measuring Cup Materials: Pros and Cons
The material of your measuring cups can influence their durability, ease of use, and suitability for different tasks.
Glass Measuring Cups
- Pros: Excellent for liquids as they are transparent, allowing for easy eye-level reading. They are non-reactive, durable, and often microwave-safe. Easy to clean and don’t retain odors or stains.
- Cons: Can be heavy and are prone to breaking if dropped. Markings can sometimes fade over time with repeated washing.
Plastic Measuring Cups
- Pros: Lightweight, inexpensive, and generally shatterproof. Often come in vibrant colors.
- Cons: Can absorb odors and stains over time, especially with strong-colored ingredients like tomato sauce or turmeric. Some plastics may not be microwave or dishwasher safe, and markings can fade. Can react with certain acidic ingredients.
Stainless Steel Measuring Cups
- Pros: Extremely durable, rust-resistant, and aesthetically pleasing. They do not absorb odors or stains and are non-reactive. Markings are usually engraved, making them very long-lasting. Best for dry ingredients due to their level-off design.
- Cons: Not transparent, making them less ideal for liquid measurements where visibility of the meniscus is important. Can be more expensive than plastic.
Electronic Measuring Cups
- Pros: Offer digital precision for both volume and weight, often with built-in conversion features. Can be very convenient for advanced bakers seeking ultimate accuracy.
- Cons: Require batteries, can be more expensive, and may have more parts to clean.
Expert Advice on Measuring Cup Maintenance
To ensure your measuring cups remain accurate and hygienic, proper care is essential.
“After years in professional kitchens, I’ve learned that clean tools are accurate tools,” says Chef Alex Nguyen, a culinary technician specializing in kitchen gadgets. “Always wash your measuring cups immediately after use to prevent food residue from hardening. For glass and stainless steel, warm soapy water or a dishwasher cycle is usually sufficient. For plastic, pay close attention to ensure no discoloration or lingering odors, and check if they’re dishwasher safe to avoid warping.” Store measuring cups nested or hung to keep them organized and prevent damage. Regularly inspect the markings on your cups, especially plastic ones, to ensure they haven’t faded, which could compromise accuracy.
Conclusion
Understanding and accurately measuring 2/3 cup is a fundamental skill that empowers you to follow recipes with confidence and achieve consistent, delicious results. By familiarizing yourself with various measurement techniques—from using a dedicated 2/3 cup to combining smaller measures, converting to tablespoons and teaspoons, or leveraging the precision of a digital scale—you can tackle any recipe thrown your way. Remember the crucial distinction between dry and liquid measuring cups and adopt flawless measuring habits. With the right tools and techniques, you’re well on your way to becoming a more precise and confident cook.
What’s your go-to method for measuring 2/3 cup, and how has mastering this measurement transformed your cooking?
Frequently Asked Questions
Why don’t all measuring cup sets include a 2/3 cup?
Many standard measuring cup sets focus on common, easily combinable fractions like 1/4, 1/3, 1/2, and 1 cup. A 2/3 cup can be easily formed by using a 1/3 cup twice, making a dedicated 2/3 cup less essential for basic sets and streamlining manufacturing. However, more comprehensive sets often do include it for convenience.
Is 2/3 cup the same for dry and liquid ingredients?
Yes, 2/3 cup refers to the same volume for both dry and liquid ingredients. However, the method of measuring differs (dry measuring cups leveled off vs. liquid measuring cups read at eye-level), and the weight of 2/3 cup will vary significantly between different dry ingredients and liquids.
How many tablespoons are in 2/3 cup?
A 2/3 cup is equivalent to 10 tablespoons and 2 teaspoons. This conversion is incredibly useful when you need to measure without standard measuring cups or if you need to adjust small quantities in a recipe using only measuring spoons.
What’s the best way to measure sticky ingredients for 2/3 cup?
For sticky ingredients like honey, molasses, or peanut butter, the best approach is to lightly coat your measuring cup or spoon with cooking spray or a neutral oil before measuring. This lubrication helps the sticky substance slide out completely, ensuring an accurate transfer to your mixing bowl and minimizing waste.